
Updating the Proxmark3 on OSX
I own a Proxmark3 for some times now and I would like to show you how to update it to add new features. Well, I also have a Macbook Pro, so I will explain the procedure on this plateform (with Brew). At the time of the writing, I use OSX El Capitan (version 10.11.5) with full update.
Requirements
Be sure to prepare your environment first:
- Install Homebrew (http://brew.sh)
- Install Xcode (and accept the license
sudo xcodebuild -license) - If your Proxmark3 is plugged in, please unplug it
Note: Upgrading the bootrom of your Proxmark3 can brick the device. Please exercise caution when upgrading the bootloader. If the bootloader is corrupted, the only way to restore your Proxmark3 to working order will be through the use of a JTAG programmer.
HID vs. CDC
To do this upgrade, your Proxmark3 should be detected as a USB CDC (Communications Device Class) device by your computer.
$ system_profiler SPUSBDataType

        Communication Device:

          Product ID: 0x504d
          Vendor ID: 0x2d2d
          Version: 0.01
          Speed: Up to 12 Mb/sec
          Manufacturer: proxmark.org
          Location ID: 0x14100000 / 11
          Current Available (mA): 1000
          Current Required (mA): 0
          Extra Operating Current (mA): 0
If your Product and Vendor IDs are different, you should check this tutorial before continuing: Upgrading Proxmark3 from HID to CDC
Tap and Build
You should feel lucky because a great guy, who goes by the name of chrisfu, created a tap for Homebrew to update the Proxmark3, so let’s do it.
$ brew tap chrisfu/proxmark3
$ brew install proxmark3

Note:
brew install proxmark3for stable release orbrew install --HEAD proxmark3for latest non-stable from GitHub.
If the installation is successful, brew should display the following message:
Install success! Upgrade devices on HID firmware with proxmark3-hid-flasher, or devices on more modern firmware with proxmark3-flasher.
The latest bootloader and firmware binaries are ready and waiting in the current homebrew Cellar within share/firmware.
Update
So now, we have built the Proxmark3 firmware and the flashing tools. Go to the following folder cd /usr/local/Cellar/proxmark3/2.2.0 (the last version is currently v2.2.0):
$ cd /usr/local/Cellar/proxmark3/2.2.0
$ ls -la
total 56
drwxr-xr-x  4 ax  admin    272 29 May 00:00 .
drwxr-xr-x  3 ax  admin    102 28 May 23:59 ..
-rw-r--r--  1 ax  admin   2999 12 Jul  2015 CHANGELOG.md
-rw-r--r--  1 ax  admin    351 29 May 00:00 INSTALL_RECEIPT.json
-rw-r--r--  1 ax  admin  15123 12 Jul  2015 LICENSE.txt
-rw-r--r--  1 ax  admin   2807 12 Jul  2015 README.txt
drwxr-xr-x  2 ax  admin    204 29 May 00:00 bin
drwxr-xr-x  3 ax  admin    102 29 May 00:00 share
Press the button on the Proxmark3 and KEEP IT PRESSED while you reconnect it to USB. After five seconds you can release the button. Then, figure out the device name of the Proxmark3:
$ ls /dev/cu*
You should see a device named /dev/cu.usbmodem#### where the #### is a number. Use the CDC flasher to upgrade the bootrom:
$ cd /usr/local/Cellar/proxmark3/2.2.0
$ ls /dev/cu*
$ ./bin/proxmark3-flasher /dev/cu.usbmodem1411 -b ./share/firmware/bootrom.elf
$ ./bin/proxmark3-flasher /dev/cu.usbmodem1411 ./share/firmware/fullimage.elf
- Flash the Bootrom
$ ./bin/proxmark3-flasher /dev/cu.usbmodem1411 -b ./share/firmware/bootrom.elf
- Update the FPGA and OS:
$ ./bin/proxmark3-flasher /dev/cu.usbmodem1411 ./share/firmware/fullimage.elf

Testing
Let’s do some tests ! Disconnect the Proxmark3 from the USB, and reconnect it.
$  /usr/local/Cellar/proxmark3/2.2.0/bin/proxmark3 /dev/cu.usbmodem1411

proxmark3> hw version

Prox/RFID mark3 RFID instrument
bootrom: /-suspect 2016-06-10 21:18:01
os: /-suspect 2016-06-10 21:18:03
LF FPGA image built for 2s30vq100 on 2015/03/06 at 07:38:04
HF FPGA image built for 2s30vq100 on 2015/06/22 at 21:47:54

uC: AT91SAM7S256 Rev B
Embedded Processor: ARM7TDMI
Nonvolatile Program Memory Size: 256K bytes. Used: 160828 bytes (61). Free: 101316 bytes (39).
Second Nonvolatile Program Memory Size: None
Internal SRAM Size: 64K bytes
Architecture Identifier: AT91SAM7Sxx Series
Nonvolatile Program Memory Type: Embedded Flash Memory

proxmark3> hw tune

Measuring antenna characteristics, please wait...#db# DownloadFPGA(len: 42096)
.....#db# DownloadFPGA(len: 42096)
.
# LF antenna: 17.05 V @   125.00 kHz
# LF antenna: 23.24 V @   134.00 kHz
# LF optimal: 29.84 V @   130.43 kHz
# HF antenna:  1.21 V @    13.56 MHz

Displaying LF tuning graph. Divisor 89 is 134khz, 95 is 125khz.
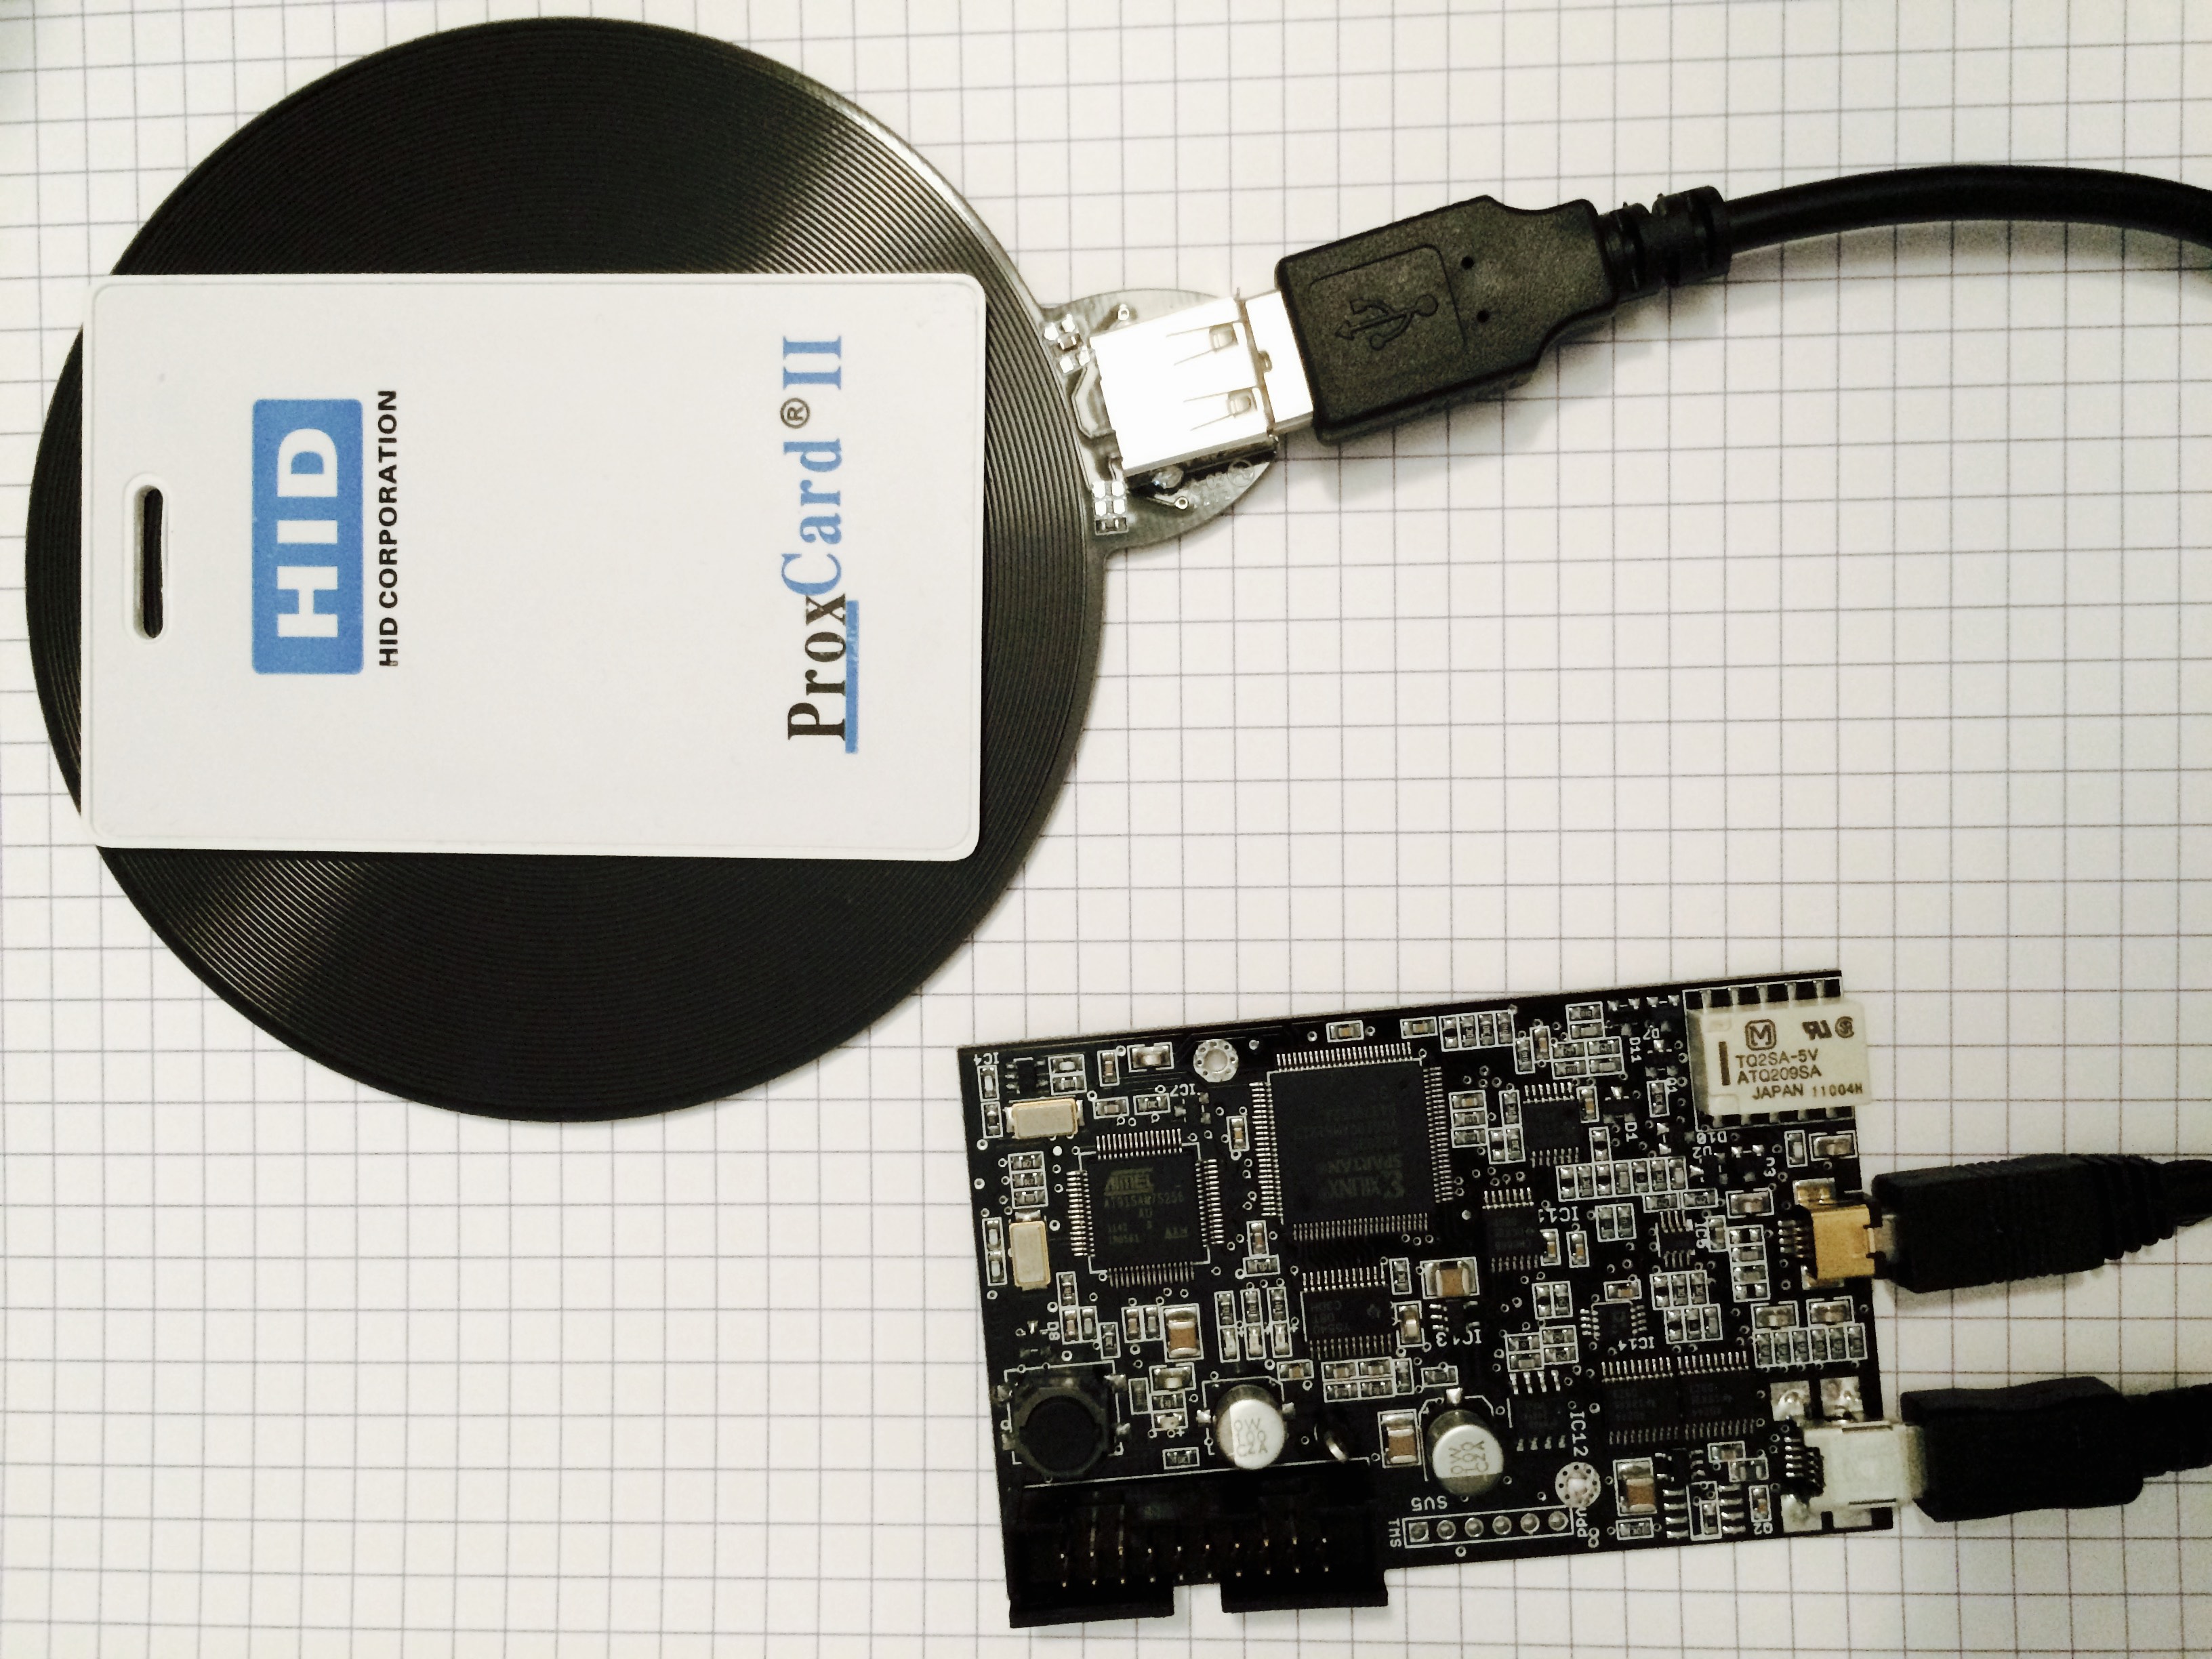
So, the LF antenna seems to be working fine. Let’s give a try with a real RFID tag (ProxCard II).
$  /usr/local/Cellar/proxmark3/2.2.0/bin/proxmark3 /dev/cu.usbmodem1411

proxmark3> lf search
Reading 30000 bytes from device memory

Data fetched
Samples @ 8 bits/smpl, decimation 1:1
NOTE: some demods output possible binary
  if it finds something that looks like a tag
False Positives ARE possible


Checking for known tags:

HID Prox TAG ID: 2000000000 (xxxx) - Format Len: 26bit - FC: 110 - Card: xxxx

Valid HID Prox ID Found!
Well, the Proxmark3 seems to work fine! Now, you can go back to your unusual activities…
Resources
- http://www.proxmark.org - Official Website (Proxmark3)
- https://github.com/Proxmark/proxmark3 - Proxmark3 Github
- https://github.com/Proxmark/proxmark3/wiki - Proxmark3 Wiki
- https://github.com/chrisfu/homebrew-proxmark3 - Homebrew Tap for Proxmark3